Configuring SAML SSO for Office 365
Accops let users to Single Sign-On into Office 365 account with one set of login credentials, eliminating user-managed passwords and the risk of phishing. Office 365 Single Sign-On set up leverages the existing on-premise Active Directory infrastructure and provides seamless integration without the need to manage multiple on-premise and cloud identities.
Environment#
- Accops HySecure Gateway v5299, v5360, v6026 onwards
- Office 365 Tenant
Pre-Requisites#
- Verify your on-premises UPN Domain in Azure AD/Office 365 Tenant.
- Install, Configure & link Office 365 and on-premises Active Directory user accounts using Azure AD connect.
- Sync On-Premise Active Directory with Azure Active Directory.
- Global Admin Access of Office 365 Tenant to Connect using Powerhsell.
- Accops HySecure Gateway with Public DNS name and valid SSL Certificate.
- Managenent console of HySecure Gateway using Secirity Officer Account.
- Shell Access to Hysecure Gateway.
Configurations#
Steps to setup Office 365 in Accops (Identity Provider)#
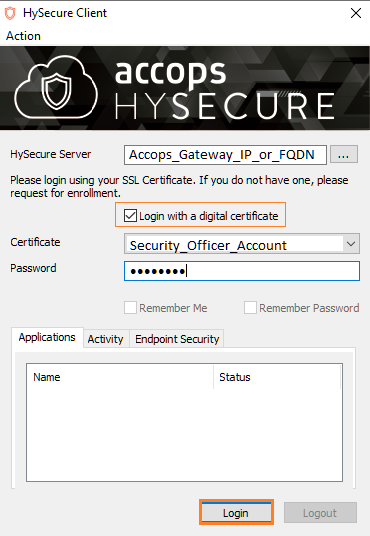
Step 1: Login with a digital certificate in Accops HySecure Gateway using Security Officer Account.
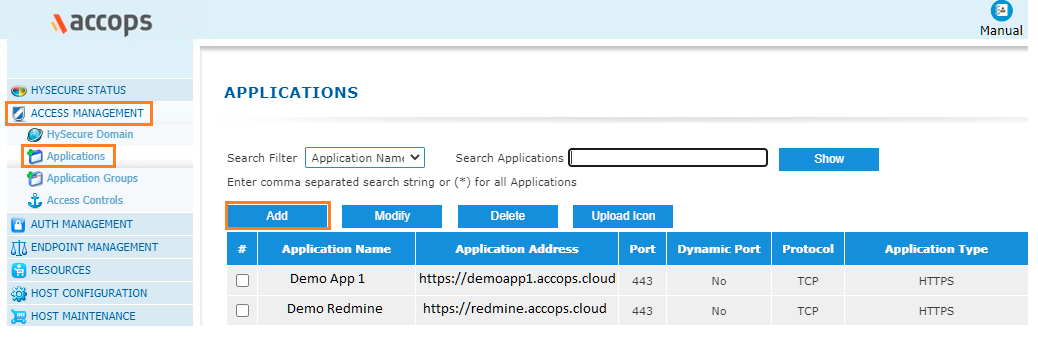
Step 2: Go to "Access Management >> Applications" click on Add .
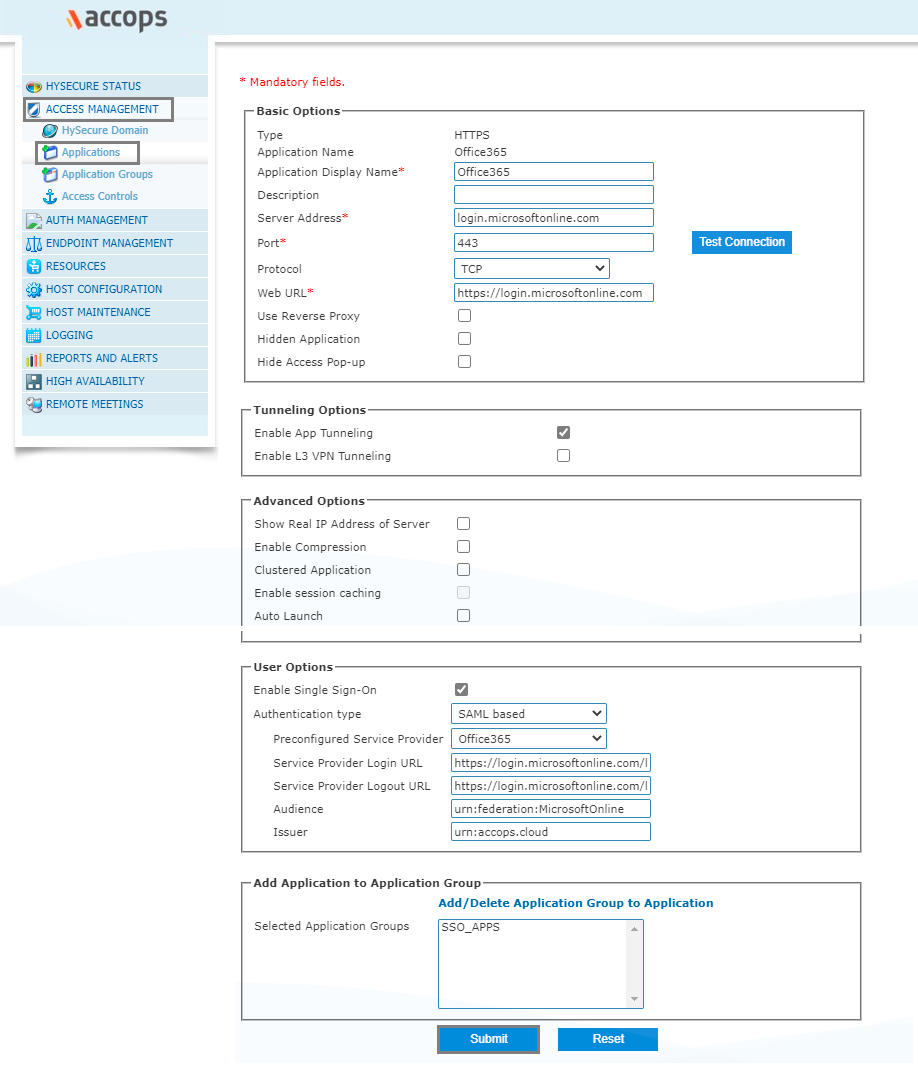
Step 3: Create a new application as Office365.
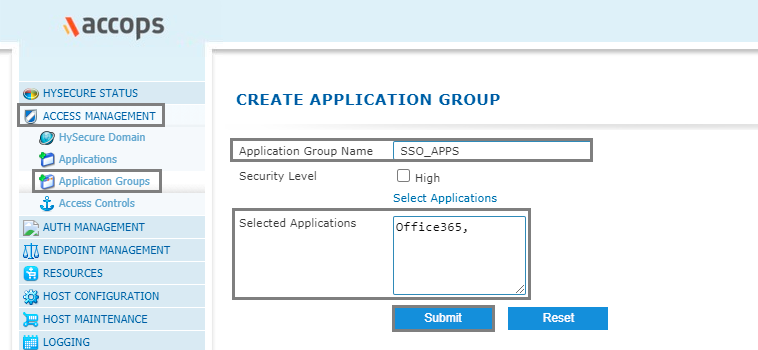
 Step 4: Add Office365 app into New/Existing Application Groups.
Step 5: Create/Update an "Application Access" in New/Exisitng "Access Controls"
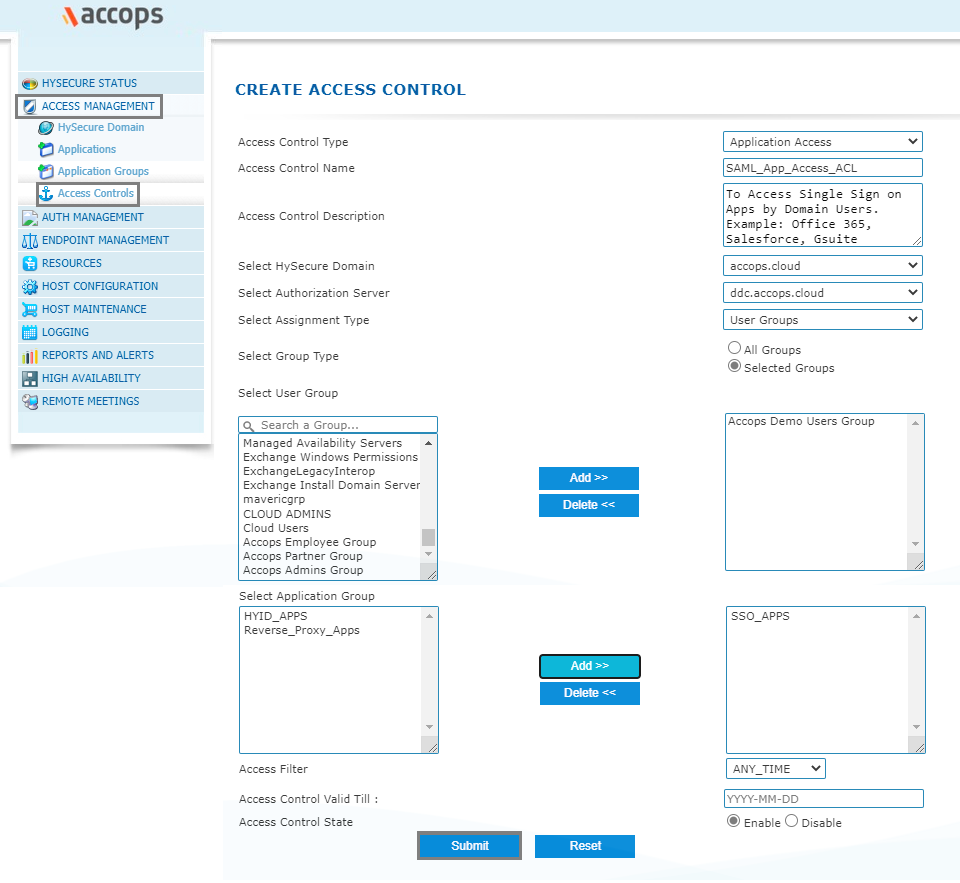
Step 6: Verify SAML SSO Certificate in Accops HySecure Gateway.
Please ensure below files availability in Accops HySecure Gateway.
note
If above files are not present then, create it using below command
Step 7: Copy the content of SAML SSO Certificate SAML_Signing_Certificate form Accops Gateway.
note
This Certificate is required when Federating the Office 365 Domain with Accops Gateway, so please ensure while copying the content there aren't any new line in SAML SSO Certificate.
Steps to setup Accops in Office 365 (Service Provider)#
Step 1: Open PowerShell with Admin Rights and Install MSOnline Module.
Step 2: Connect with MsolService using the following command in PowerShell.
Login to Office 365 Tenant with Global Administrator Account.
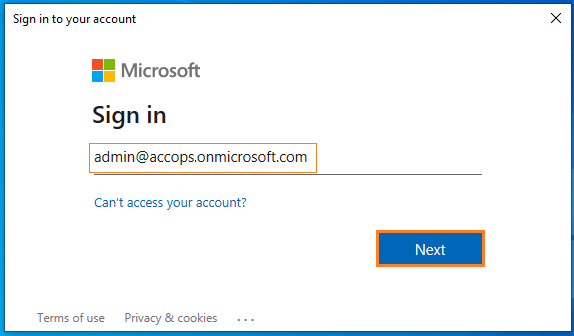
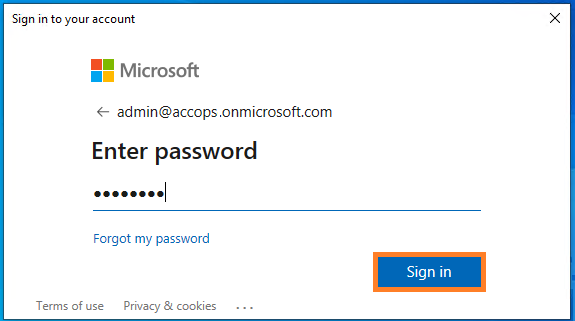
Enter Credentials and click on Sign In
Step 3: Get all Domains.
Step 4: Sign in to the Office 365 portal as a Global administrator.
Office 365 SSO can be enabled only for domains that are verified in Azure AD.
Office 365 SSO cannot be enabled for "onmicrosoft.com" domains that are created by Microsoft.
Office 365 SSO cannot be enabled for the default domain (the primary domain in which users are created). It can only be configured for custom domains.
Office 365 prohibits SSO configuration for default domains to ensure that administrators can log in to Office 365 regardless of issues with the IdP.
If your organization does not have a custom Office 365 domain, you need to purchase one in order to configure SSO. Federated domains, i.e., domains in which SSO has been enabled, cannot be configured for password synchronization.
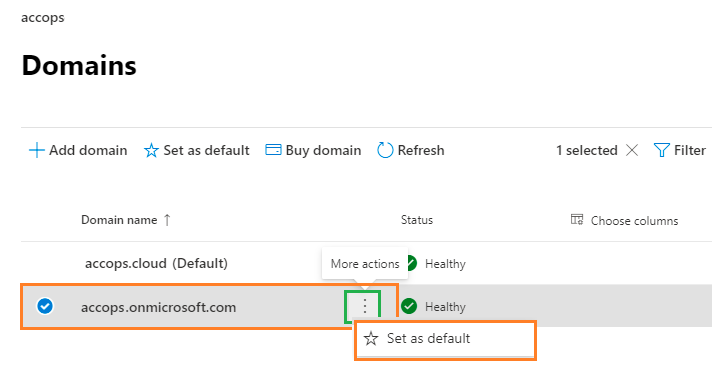
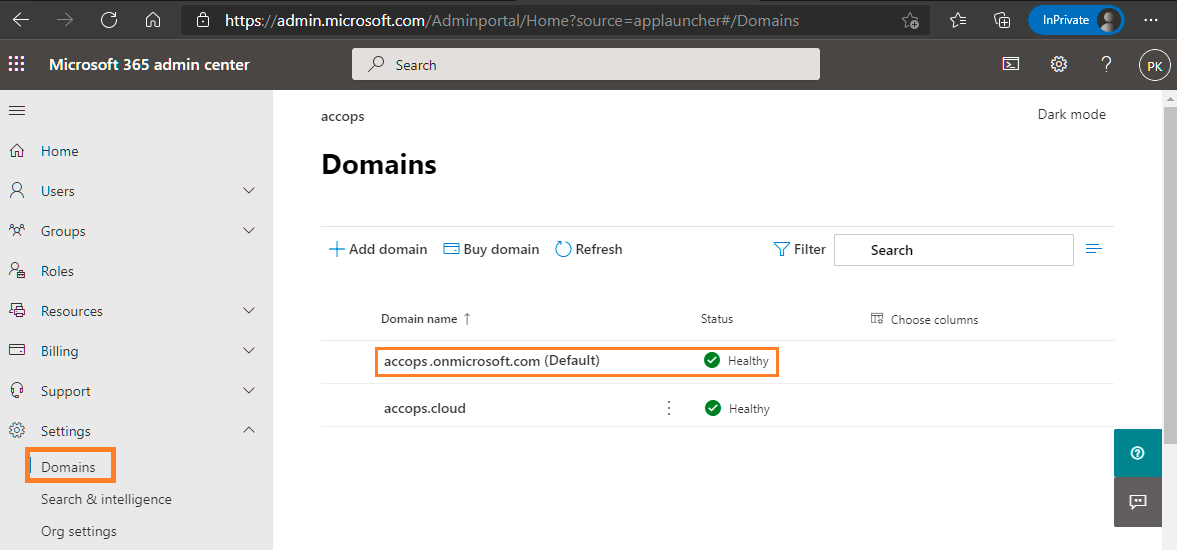
To update Default Domain in Office 365 Tenant, Go to https://admin.microsoft.com/Adminportal/Home?source=applauncher#/Domains
Before
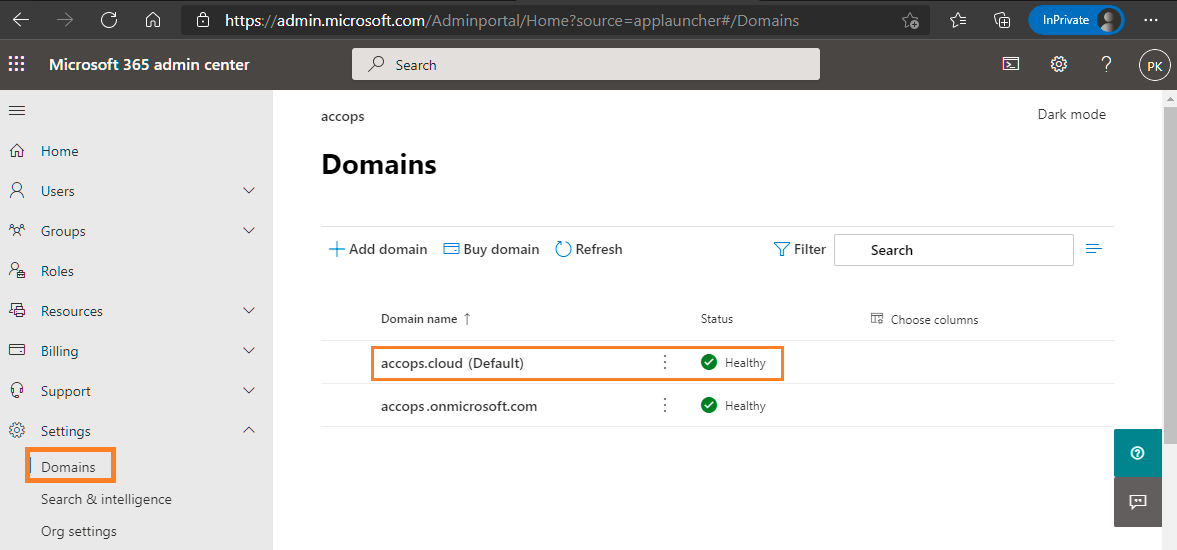
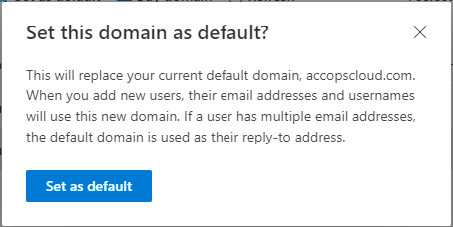
Select accops.onmicrosoft.com and Mark it as Default Domain.
Accept confirmation prompt
After
Step 5: To configure accops.cloud as federated domain, below are the pre-requsites.
Step 6: Run the below command in PowerShell to enable SSO in Office 365.
Step 7: Verify Domain Status.
- Veryfy Federation configuration, use the following command.
Step 8: Reconfigure or update SSO settings.
caution
If you are already using SSO for Office 365 from another identity provider or want to update Accops as a Identity Provider for SSO settings, then you must first disable SSO in Office 365, and then follow the steps in this guide from Step 5 to Step 7.
Sign in to your Office 365#
Using IDP initiated login#
- Go to Accops Workspace Portal (https://sso.accops.cloud)
Enter Login Credentials, Choose domain from dropdown and click on Sign In.
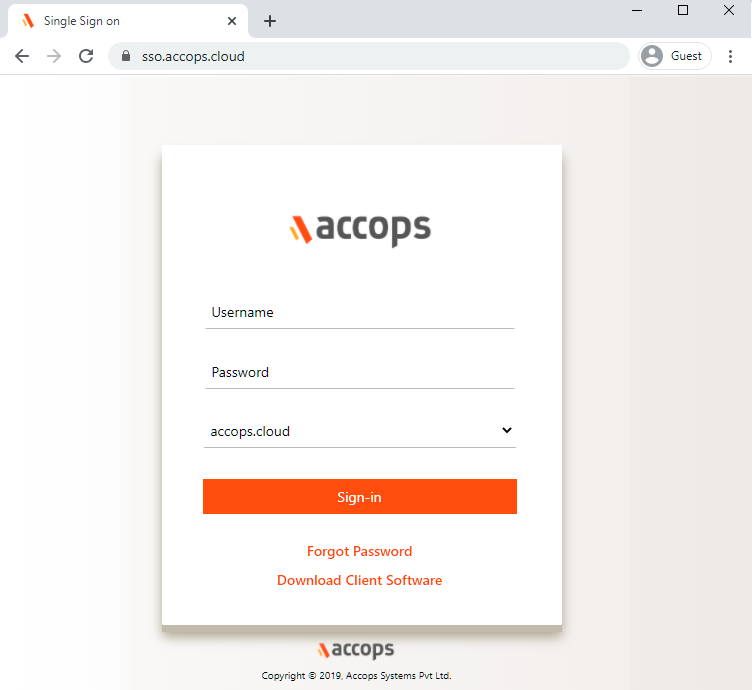
Verify yourself using Multi-Factor Autentcication by choosing the type of MFA from dropdown.
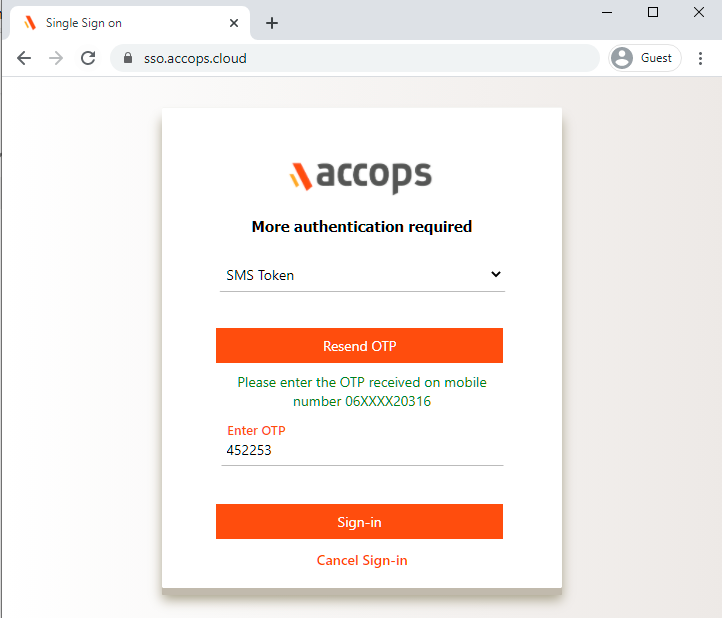
Post Successful Autentication and Authorization User will will be redirected to Accops Workspace Portal.
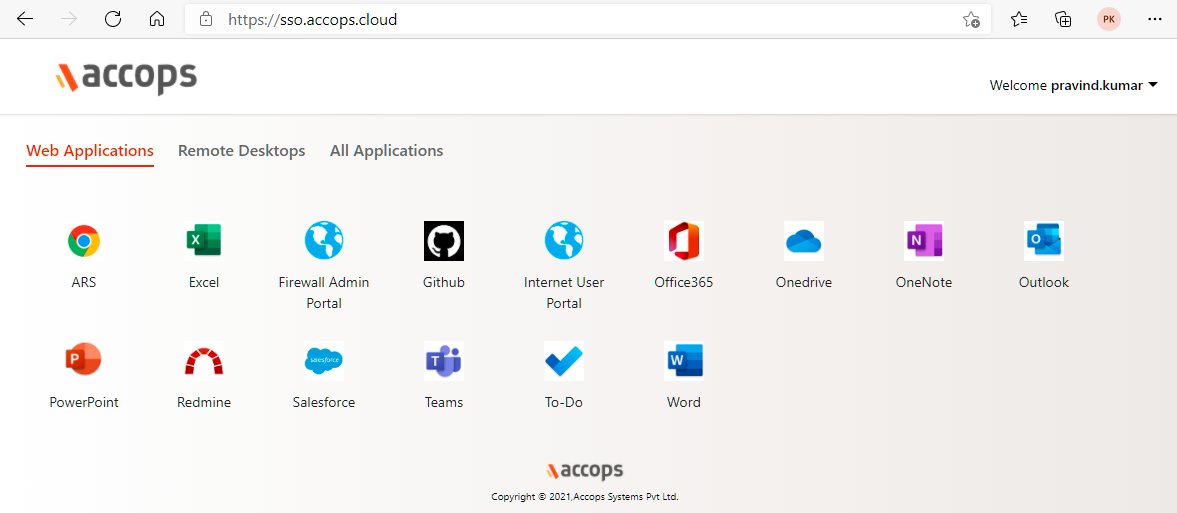
click on Office365 icon to launch Single Sign On access to Office 365.
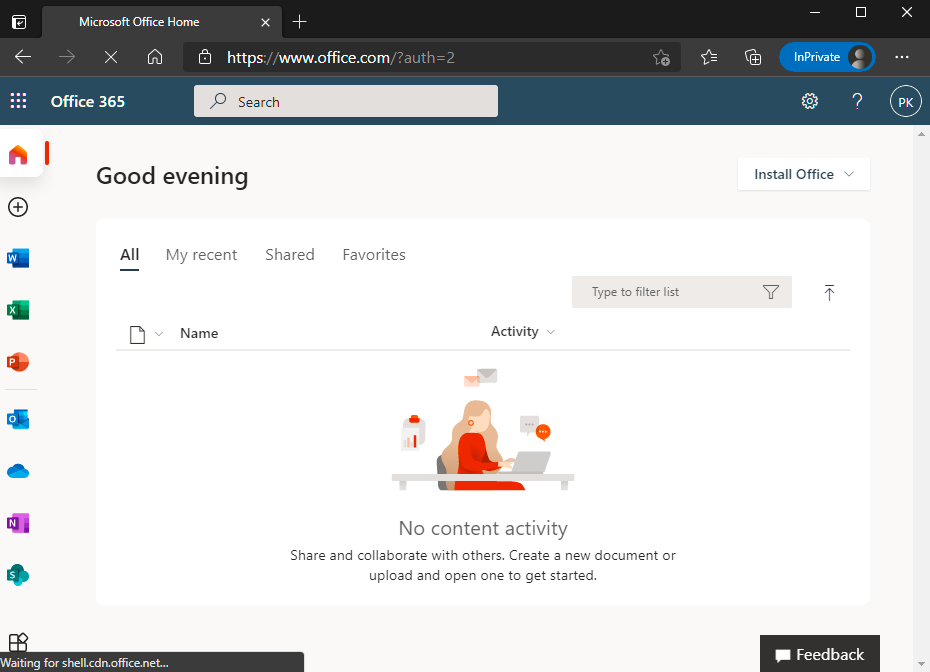
Using SP initiated login#
Go to Office 365 portal https://office.com and Sign In with Email Address.
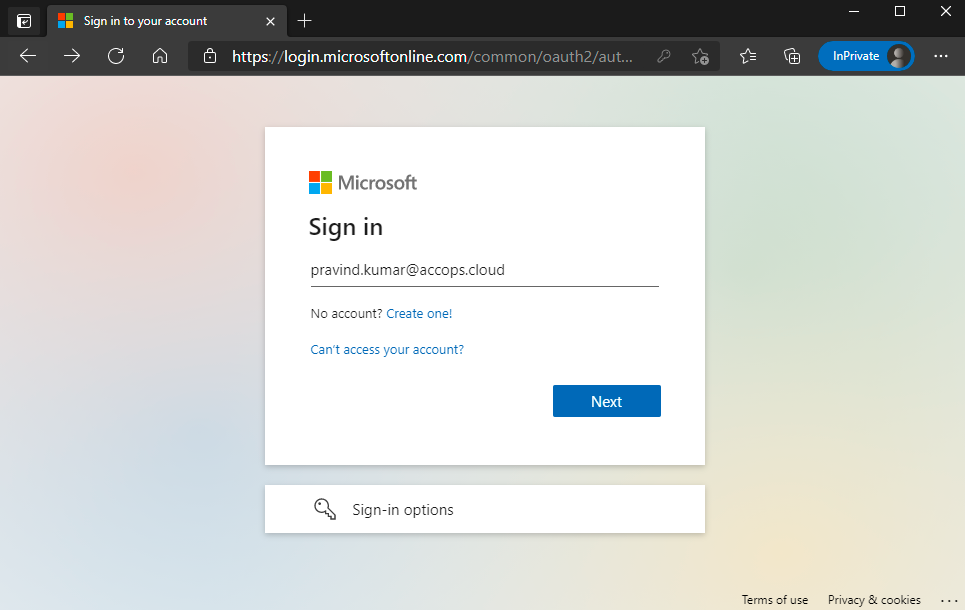
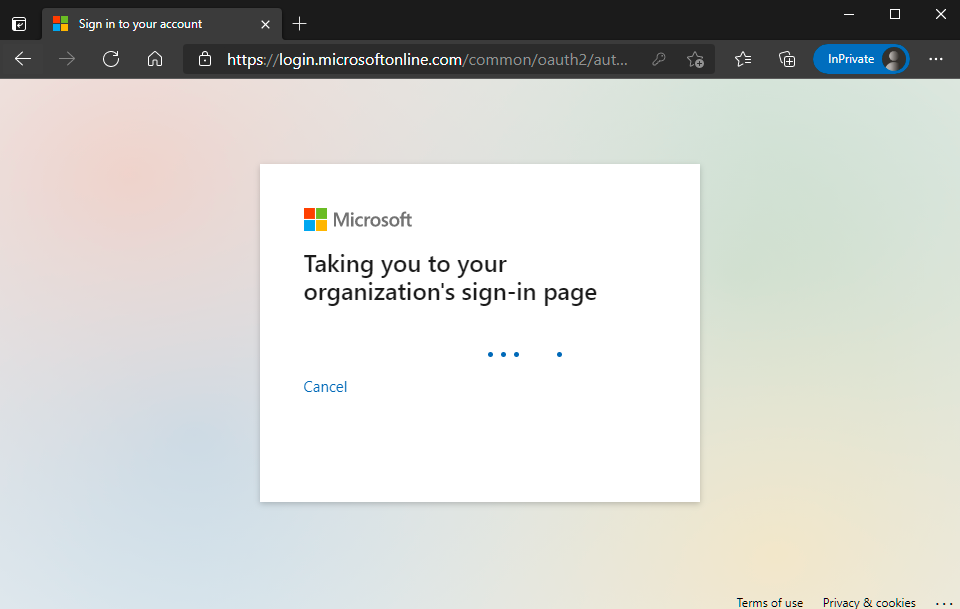
Autentication request will be Reqdirected to Organization Sign in Page (Accops IDP Login Portal)
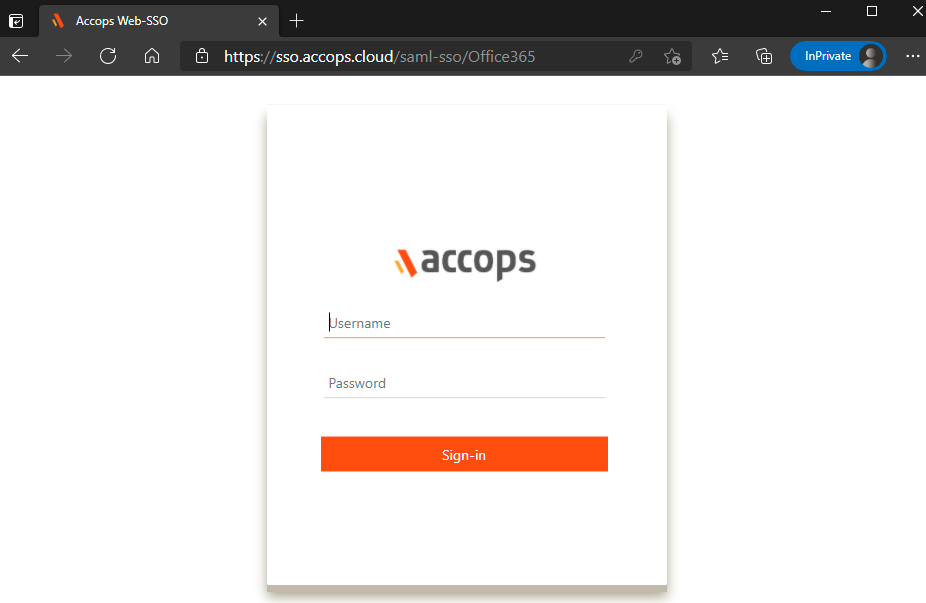
Enter Authentication details and click on Sign-In
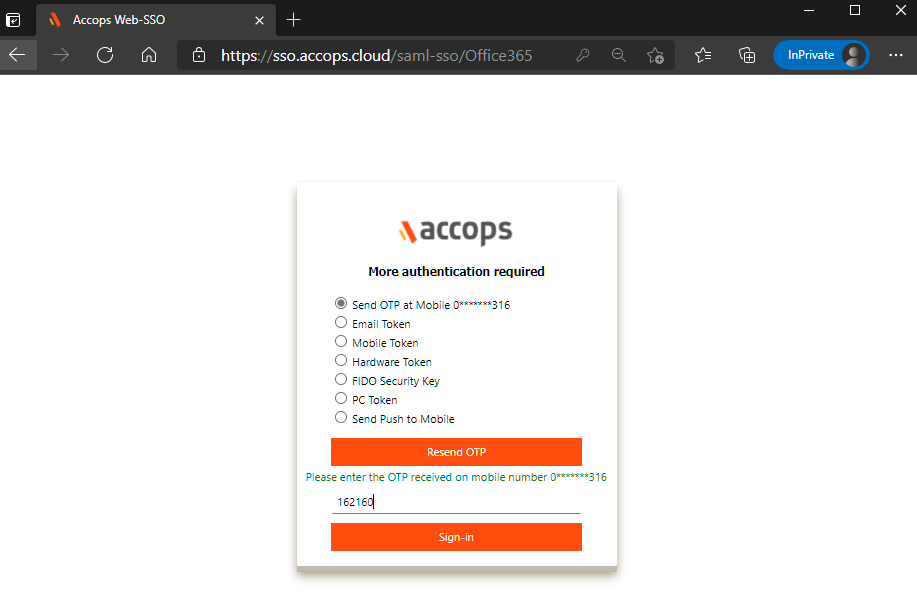
On Below Screen, Accops IDP Server will Prompt More AUthenication required, Choose MFA type and click on Sign In.
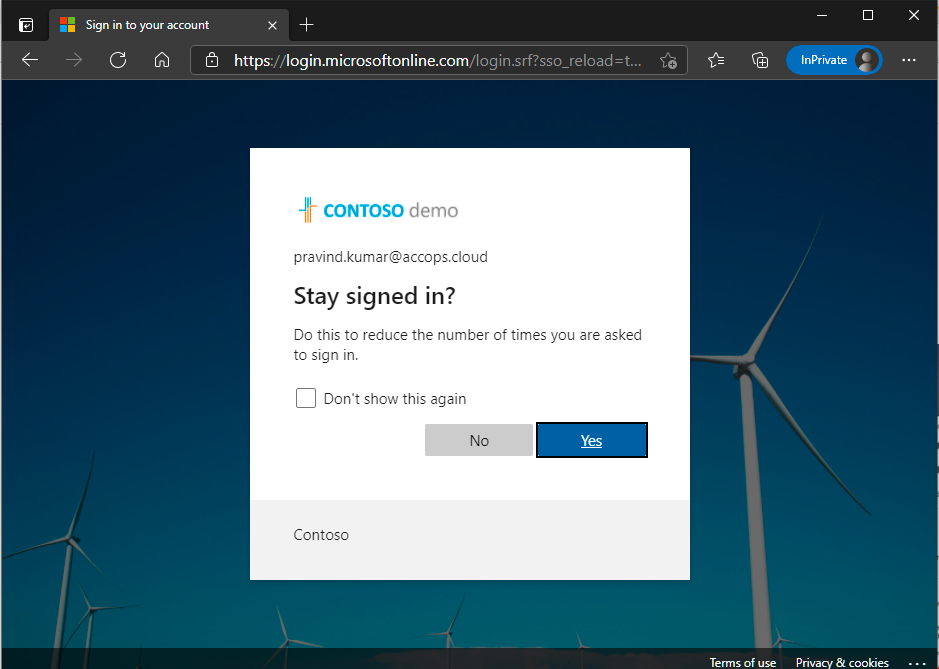
Select Stay Signed in?
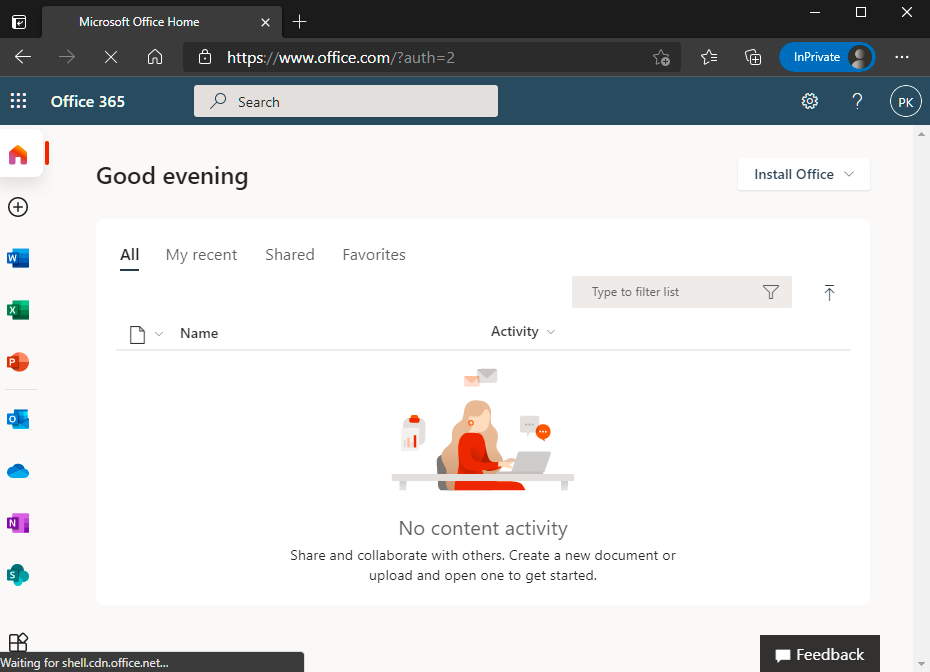
Access Office 365 Portal.
Help/Support#
Please send a mail to support@accops.com for further help/Support.